Listing Preparation
Orléans Kitchen Clean-Up Before Listing Photos: A Practical Plan for Counters, Islands and Appliance Exteriors
A practical Orléans guide for preparing a lived-in kitchen for listing photos by simplifying counters, refining island sightlines and cleaning the surfaces buyers notice first.
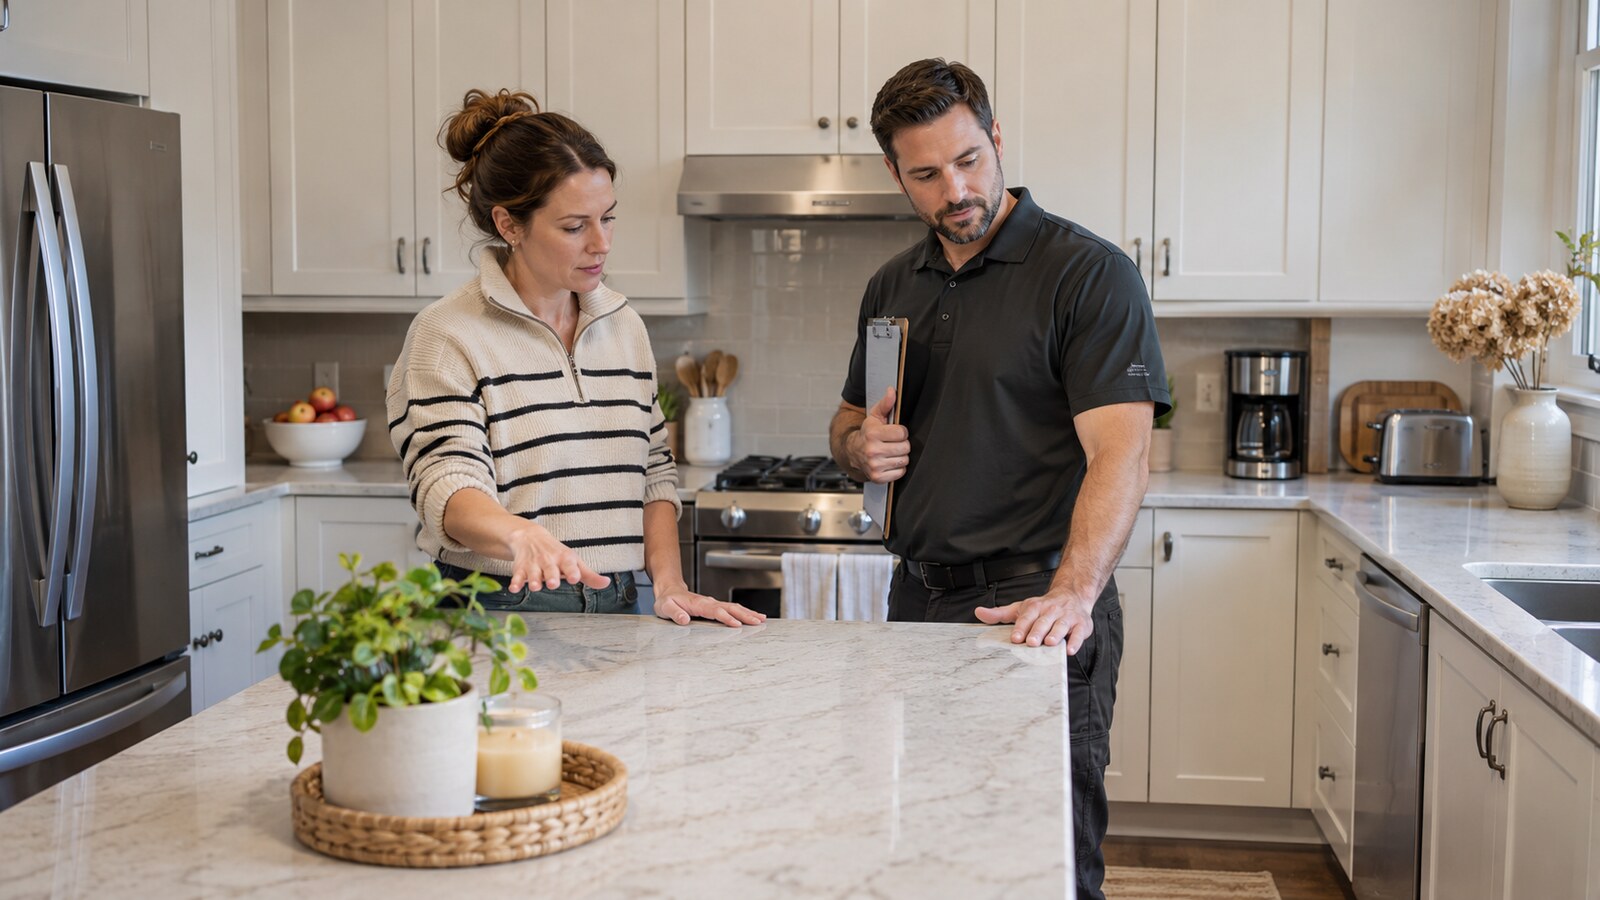
A kitchen is often one of the most carefully viewed rooms in an Ottawa listing. Buyers look at the overall layout, but photographs also draw attention to every countertop item, appliance reflection, cabinet edge and object sitting on the island. In an occupied Orléans home, the goal is not to make the kitchen look unused. It is to show the working space clearly and help the room read as organized, bright and easy to move through.
A useful clean-up plan separates decisions from cleaning. First decide what will remain visible, what can be stored temporarily and what is ordinary approved material to remove. Then clean the exposed surfaces in a sensible order. This avoids wiping around objects that will later move and reduces the chance of filling a pantry, basement or garage with unlabelled boxes just before a showing.
Start with the photographer's main sightlines
Stand at the kitchen entrance, the end of the island and the transition to the dining or living area. These are common positions from which the room is understood, even if the photographer ultimately chooses different angles. Look for tall items that interrupt the counter line, chairs that narrow a walkway, objects above the cabinets and magnets or papers that create small patches of visual noise. Take quick reference photos from each position before moving anything.
Keep the preparation connected to the actual layout. A compact townhouse kitchen may need a very clear path around a peninsula, while a larger detached-home kitchen may need the island to read as one simple surface. Do not move a table, appliance or heavy cabinet simply because it appears in a photo. The safe route, floor protection and the seller's approval still matter.
Sort counter items into three practical groups
Use three groups: keep visible, use daily but store between showings, and remove from the property with approval. A kettle or coffee maker may stay if it suits the space and the seller needs it each morning. Duplicate small appliances, delivery bags, paper piles, excess bottles and rarely used gadgets can usually leave the main sightline. The decision should support daily life as well as photography; a plan that is too elaborate will not last through several showings.
- Keep one small, intentional group on a long counter rather than spreading decor across every section.
- Store daily medicines, personal papers and keys somewhere secure and out of photographs.
- Give each frequently used appliance a specific temporary storage place.
- Label short-term bins by destination so items can be restored after the sale process.
- Do not place loose kitchen items into an oven, dishwasher or appliance that may be opened or operated.
Avoid solving the counter problem by overfilling the pantry. Buyers may view storage areas during a showing, and tightly packed shelves can make the kitchen feel less functional. If off-site or garage storage is available, use stable, clearly marked containers and keep them away from access routes, panels, shutoffs and mechanical equipment.
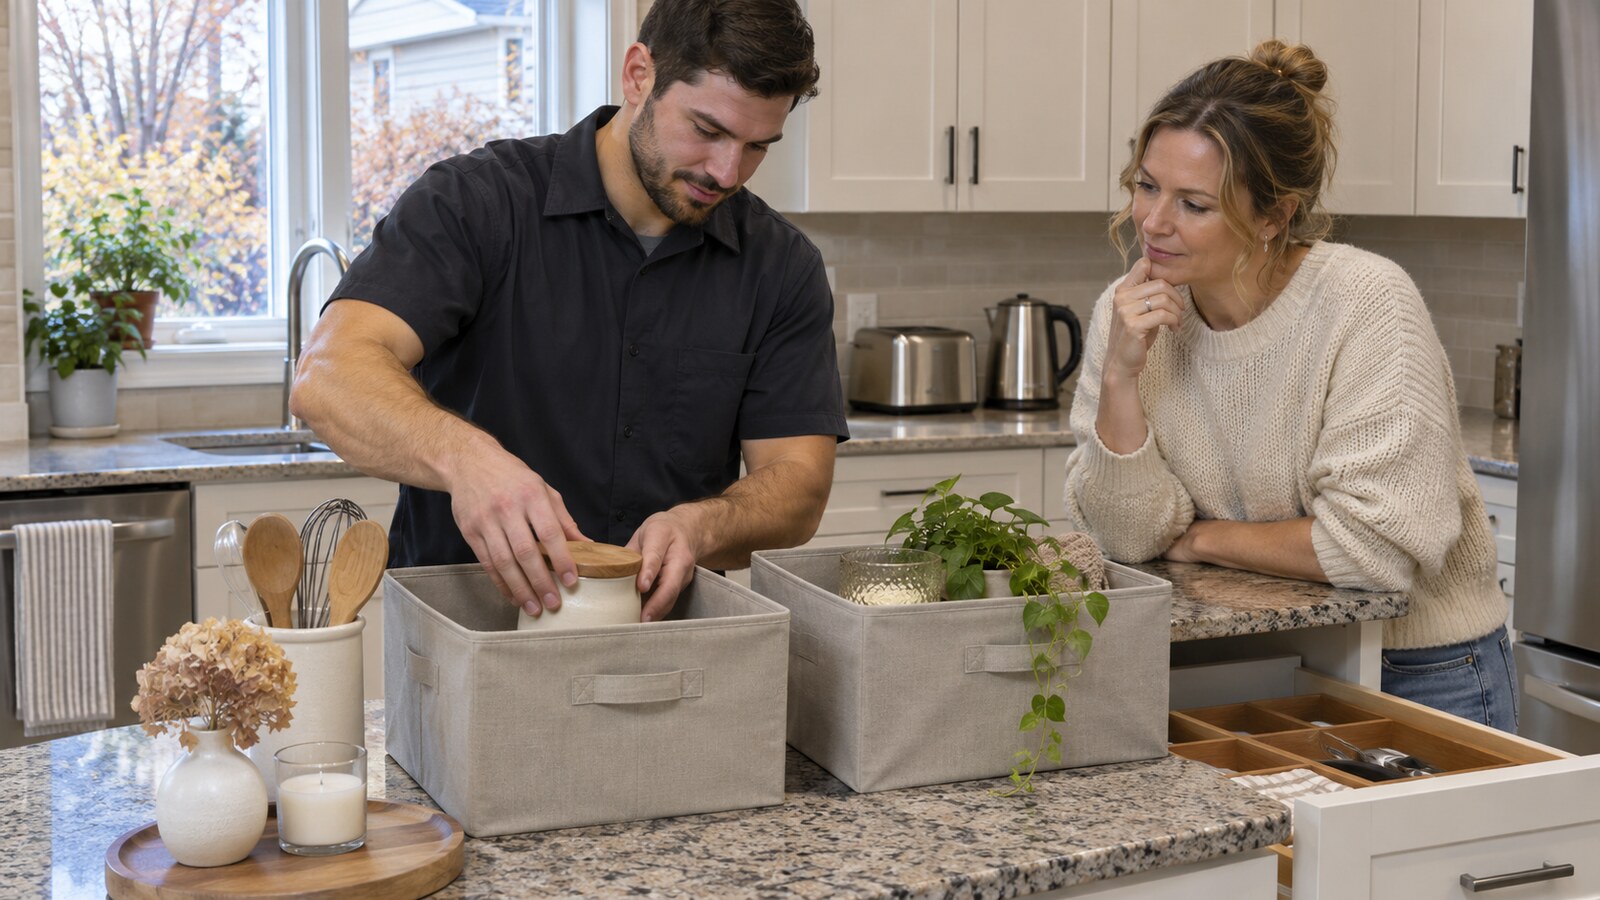
Treat the island as both a work surface and a focal point
An island often sits near the centre of the listing photograph, so small choices have a large effect. Remove chargers, mail, reusable bags, extra stools and anything hanging over the edge. If decor remains, keep it low enough that the room behind it is still visible. Confirm that the island does not become the holding area for everything removed from the perimeter counters.
Check the walking space on every usable side. Push stools in evenly without blocking floor vents or cabinet doors. If the island has a sink or cooktop, clear the immediate work zone and leave controls untouched. Loose cords, countertop appliances and cleaning tools should be removed from the route before surfaces are cleaned.
Clean from upper surfaces down to the floor edge
Once the visible-item plan is settled, dust accessible upper edges and light fixtures only from stable floor-level reach or with suitable equipment. Wipe cabinet fronts using a method appropriate for the finish, then clean backsplashes, counters and the island. Finish with lower doors, toe-kicks, baseboards and the floor. Working downward keeps loose dust from landing on a surface that has already been finished.
Use restrained moisture around wood, seams, electrical outlets and appliance controls. Test an inconspicuous spot before using a product on stone, painted cabinetry or a specialty finish. The objective is a clean, even presentation, not a glossy coating or a promise that every worn area will disappear. Chips, damaged grout, loose handles and failing caulk are maintenance items to document rather than conceal.
Give appliance exteriors careful, limited attention
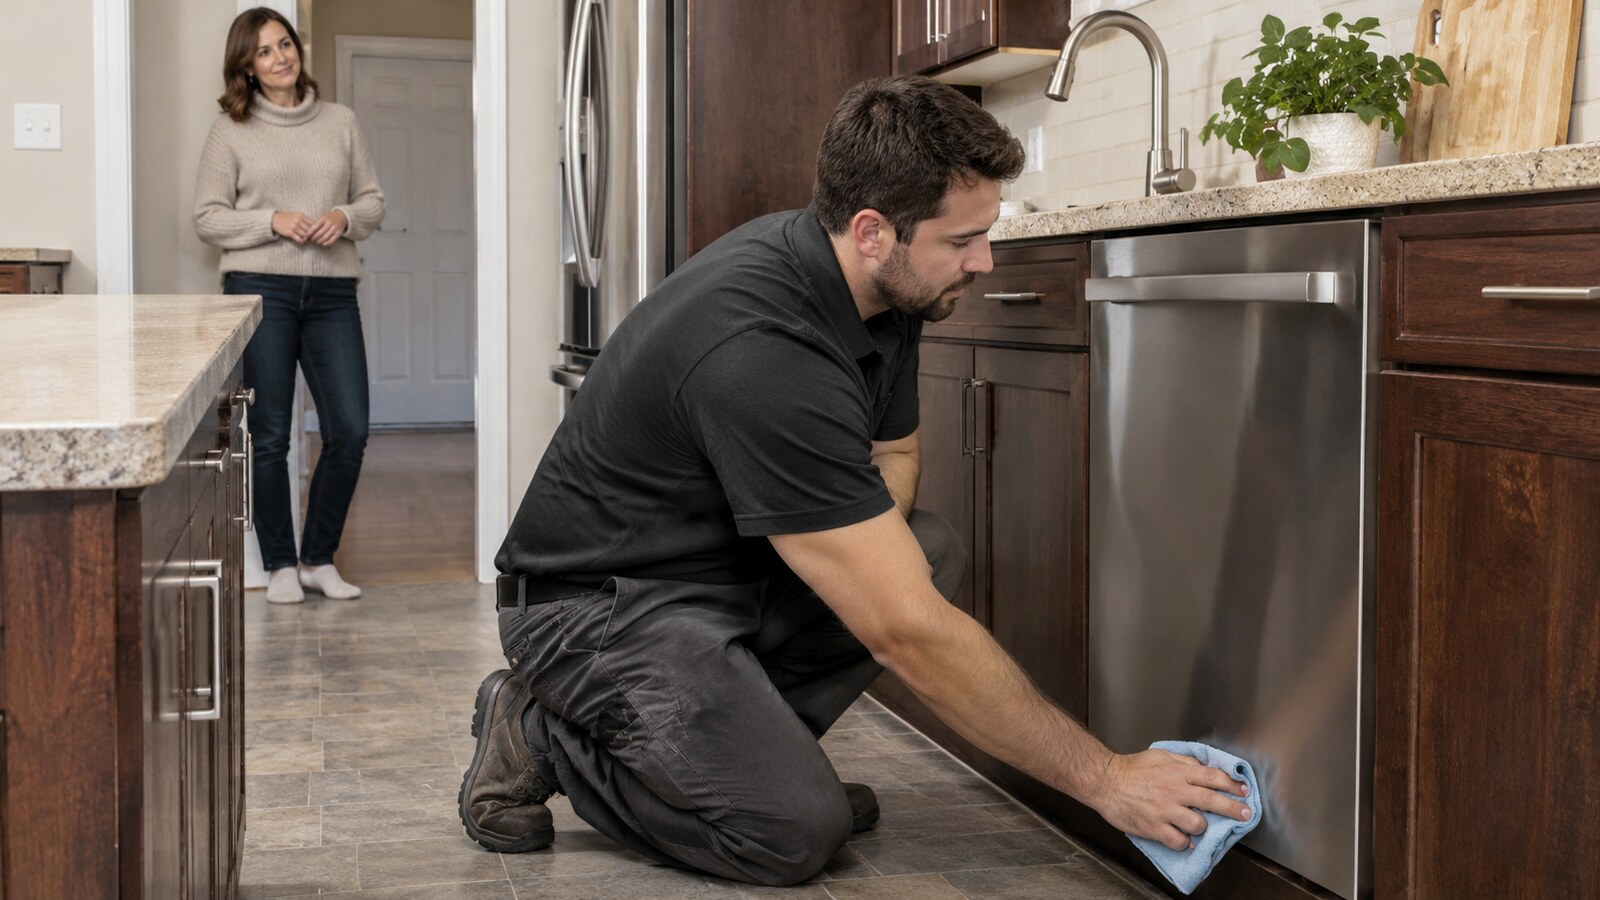
Fingerprints and streaks on stainless steel can become prominent in wide-angle photographs. Clean appliance exteriors according to the material and wipe in a consistent direction. Include handles, the lower edge and the narrow floor line in front of the dishwasher, fridge and range where accessible. Do not pull out a connected appliance or reach behind it as part of an ordinary listing clean-up unless that work has been specifically assessed and safely planned.
Keep water and cloths away from control panels, vents and damaged seals. If an appliance is leaking, unstable, disconnected or showing an electrical concern, stop and notify the homeowner or listing representative. A listing-preparation visit is not an appliance repair or an inspection.
Check cabinet fronts, hardware and open shelves
Look across the room rather than inspecting one door at a time. Uneven chairs, open drawers and a single towel hanging at an angle can be more noticeable than a minor surface mark. Align stools, close doors fully and keep one practical hand towel if needed. On open shelves, reduce duplicates and leave some space between groups so the shelf reads as usable storage rather than overflow.
Do not tighten loose hardware, touch up paint or rearrange owner belongings without approval. Photograph anything that appears damaged before cleaning nearby. If shelf items include glass, oils, food or breakable decor, move them one at a time to a stable surface and return only the approved pieces.
Prepare for occupied-home routines
Listing photos are only the beginning. If the home will remain occupied, create a five-minute reset that can be repeated before showings: place breakfast items in their assigned bin, clear the sink, wipe the island, push in stools and remove the waste and recycling from view. Keep the reset supplies together in a safe, accessible location rather than scattered under several sinks.
- Leave enough everyday cookware and tableware for the household's normal routine.
- Keep pet food, medication and personal documents secure and outside photo sightlines.
- Use a written bin list so important items are not lost during the sale period.
- Confirm that doors, drawers and appliances can still operate without obstruction.
- Plan where last-minute dishes, cloths and countertop items will go before each showing.
Finish with a doorway review
Return to the same entrance, island-end and adjoining-room positions used at the start. Confirm that the counter line is easy to follow, the island is not carrying overflow, appliance fronts look even and the floor perimeter is clear. Check that the room still feels practical: one or two useful objects are often more believable than a completely empty kitchen. Take final reference photos so the seller or agent can reproduce the setup before later showings.
What to send for an Orléans kitchen-preparation quote
Send wide photos from the kitchen entrance and both ends of the island, plus closer images of the counters, appliance exteriors, floor edges and any items that may need ordinary removal. Include the Orléans address, parking and access details, whether the home is occupied, the photography or listing deadline and any surfaces that require special care. Mention heavy furniture, connected appliances, damaged finishes or uncertain materials before the scope is confirmed.
A listing-ready kitchen does not need to look artificial. Clear sightlines, sensible storage, clean work surfaces, even appliance exteriors and a repeatable occupied-home reset help the room photograph well while remaining usable. That practical balance is especially valuable when a seller has photos, showings and daily routines happening within the same week.
Photos are illustrative examples of typical residential service results.